

Tools and techniques
Following is a brief summary of some of the standard and non-standard options for the scleral lens application process.
Standard insertion plunger
Applies suction to keep lens stable
Squeeze to attach, squeeze to release
Popular for all sizes of scleral lenses
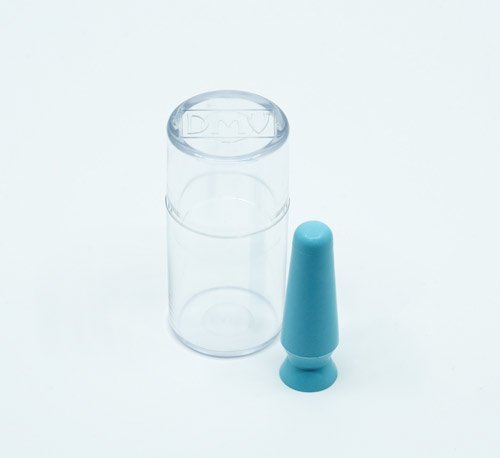
DMV Scleral Cup
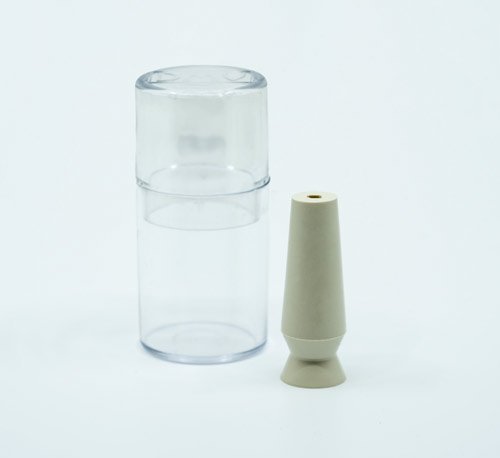
DMV Vented Scleral Cup
Vented insertion plunger
Hollow design allows light through the center, which helps low vision patients with lens centering.
Caution - very large diameter sclerals can be harder to keep stable without suction
Ring application method
Helps by freeing up more fingers for lid spread
Product being discontinued 1Q2024

EZI Scleral Lens Applicator Ring
Methods using See Green Light & Stand
Use light, stand or both
Frees both hands for lid spread
Keeps lens stable to prevent saline spillage
Green light helps with lens centration

See-Green Scleral Stand System
DMV Scleral Stand method
Inexpensive and portable (collapses)
Stabilizes lens on plunger to free up both hands for lid spread
Optional - shine light on stand to enhance light transmission through plunger for improved centration

DMV Scleral Stand
S5 and S5 Mini methods
S5 has telescoping arm for tall patients
Suction base attaches to counter or sink
Light unit
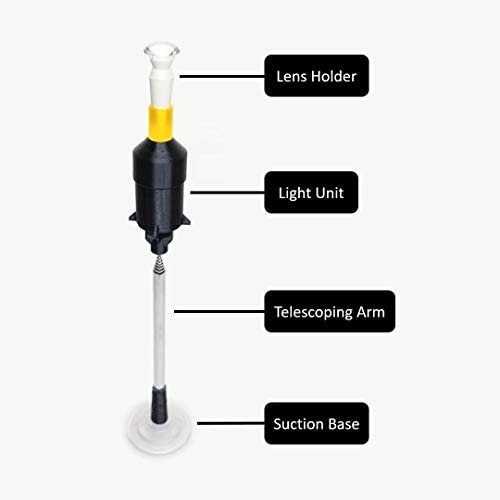
S5 Inserter

S5 Mini

No-plunger “O-ring” method
Stabilize lens on finger with small rubber ring
Best suited to smaller diameter sclerals
No-plunger “Tripod” method
Uses thumb, index and middle fingers to form a tripod base
Patient must have sufficient dexterity
Best suited to small diameter sclerals